Looking for custom training but still hands-off management? Custom Training Campaigns allow you to do just that.
Launching a custom pre-defined training campaign is a great middle-ground option on our platform. It allows you the flexibility to decide what courses are delivering but allows for scheduled campaigns.
Step 1: Creating a Custom Training Campaign
Once you're in the training dashboard, start by clicking the blue button at the top of the screen Launch a Training Campaign.
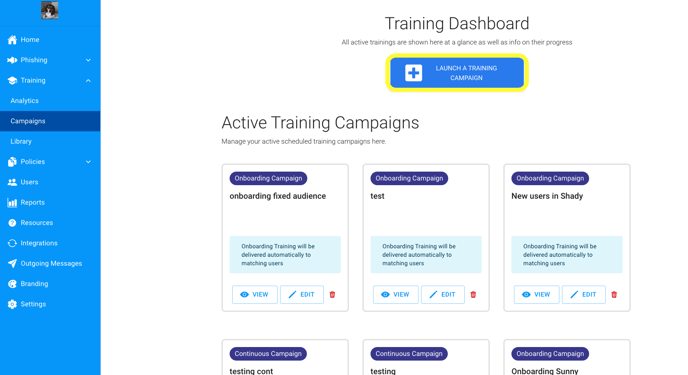
After clicking the Launch a Training Campaign button, you will be brought into the Training Campaign Editor.
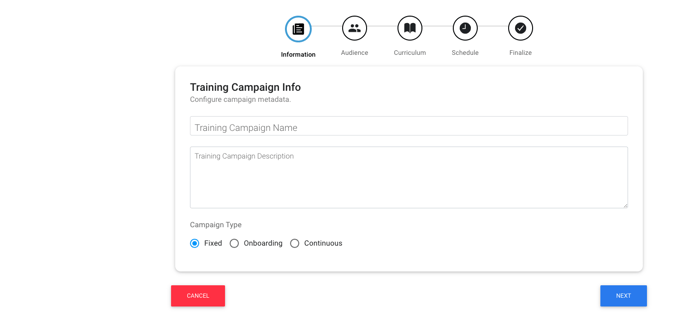
Start by giving your campaign a name and description.
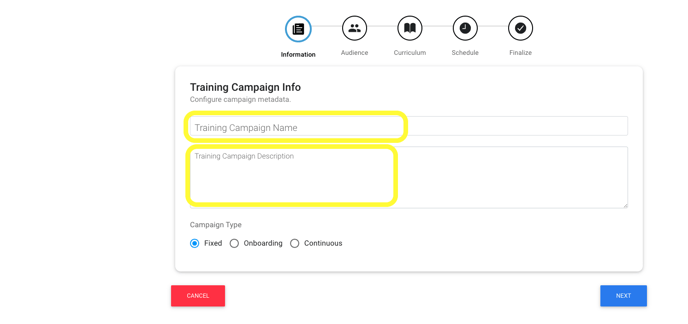
Once you've named your campaign and given it a description, click Next.
Step 2: Selecting an Audience
Now it's time to select an audience to receive this campaign.

You have four options for delivering campaigns.
- Company Campaign
The company campaign option will deliver this campaign company-wide. So everyone currently on the platform and any future new users will be added to this campaign.
- Department Campaign
The department campaign option allows you to deliver this campaign to a specific department within the company.
How to set up a Department Campaign:
Start by selecting a department campaign.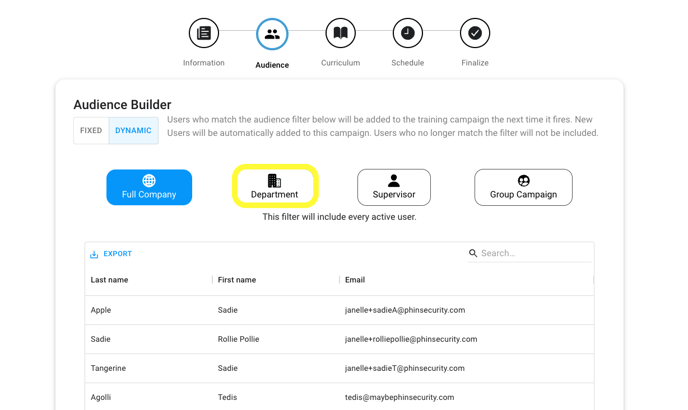
If it currently says doesn't show any users added, that is because we haven't inputted a department name yet. When we type into the box "A," we can see that one user is now in the campaign.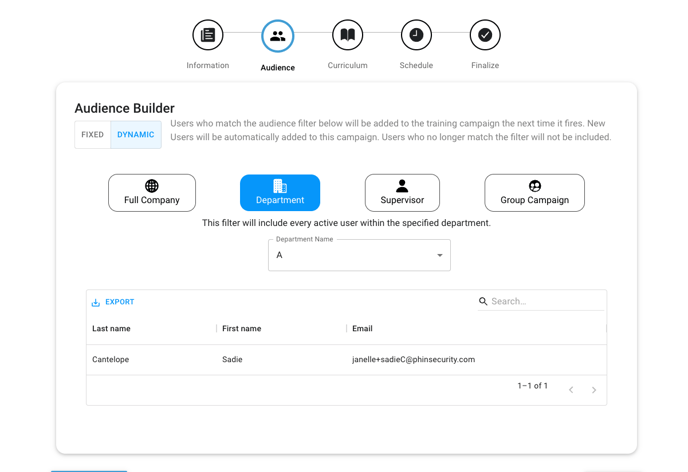
If you don't know how to add departments to your users, click here. - Supervisor Campaign
The supervisor campaign option allows you to deliver this campaign to a specific supervisor within the company.
How to set up a Supervisor Campaign:
Start by selecting a supervisor campaign.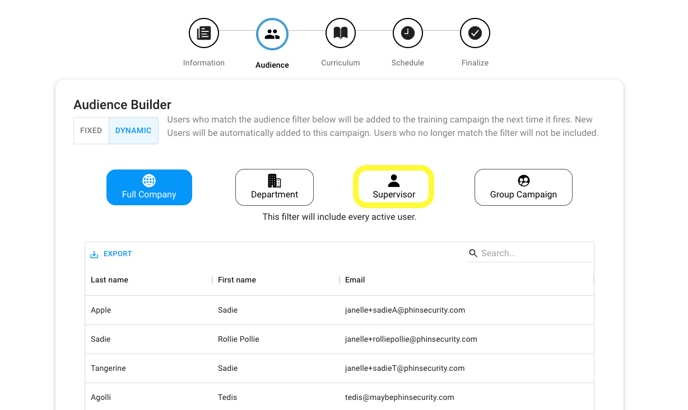
Select the supervisor's email.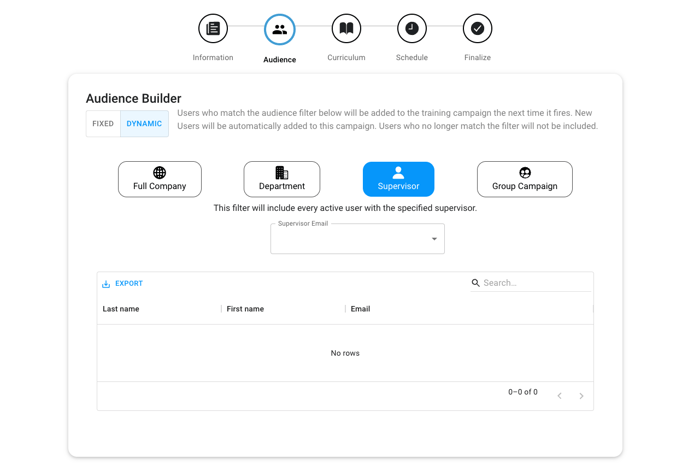
If you don't know how to add a supervisor's email to your users, click here. - Group Campaign
The group campaign option allows you to run campaigns to specific Azure Groups. This option will only be present if you have connected an Azure Sync to our platform.
How to set up a group campaign:
Start by selecting a group campaign.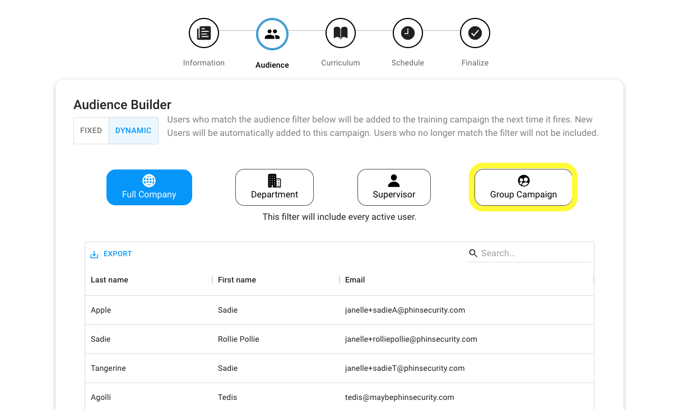
Once you've selected Group Campaign, click on the blue button labeled Groups to open the group selector menu.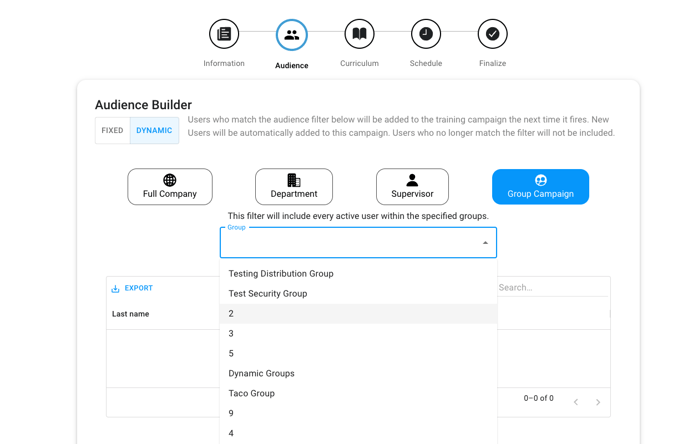
Next, select which group or groups you'd like to deliver this campaign to.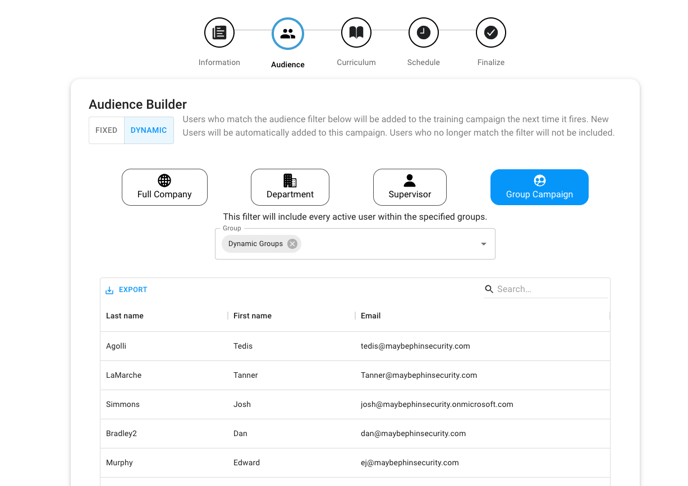
Now that you've selected the audience that you'd like to receive this campaign click Next.
Step 3: Selecting Curriculum for this Campaign
On the following screen, you will see all of the pre-built campaigns we have available for our partners. These pre-built campaigns will only deliver the training campaigns within them. You can only select one pre-built campaign per custom training campaign.
Select a pre-built campaign that'd you like to deliver to your partners.
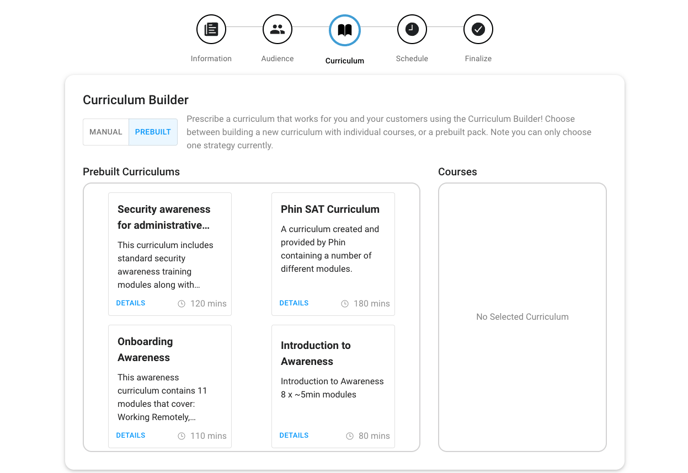
You can also select individual courses by selecting 'Manual' instead of 'Prebuilt'
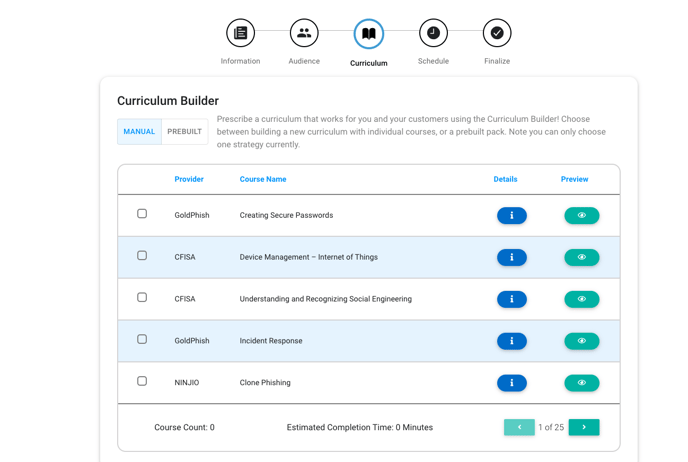
Once you have selected the content you wish to deliver in the campaign, click Next.
Step 4: Setting the Schedule
Setting a schedule is easy with our scheduling tool.
All at Once Scheduling
As the name implies, All at Once scheduling presents you with a date and time you would like the entire campaign delivered. All at Once is only available in fixed training campaigns. All At Once, campaigns will deliver all the modules within the pre-defined campaign at once.

Recurring Scheduling
Recurring schedules allow you to designate a specific date and time for the first training, followed by a recurring schedule, also determined by you. Let's walk through an example:
%20(1).png?width=688&height=127&name=Phin%20Security%20_%20Phishing%20Campaigns%20(16.04.2025%2008_37)%20(1).png)
In the schedule example above, I want the first course in my training campaign to be delivered on 10/22/2024 at 3 PM (time-zone specific). Scheduled courses after this date will reoccur once a month on the 1st Monday at 8 AM, starting on 10/31/2024. Below our scheduler, we can see a preview of our schedule in both a list view and a calendar preview.
- Frequency of sending
By clicking on "Once," you will see a dropdown menu that will allow you to change the frequency of the campaign. - Changing the frequency of delivery
The second option will allow you to select Weekly, Monthly, or Quarterly. - Changing the week of delivery within the campaign
The third option will allow you to adjust what week you'd like the campaign to deliver in any given month or time period. - Changing the delivery day of the week
The fourth option will allow you to adjust what day of the week you'd like your campaigns to deliver on. - Changing the time of the delivery
The fifth option will allow you to change the time at which the phishing campaign begins to fire.
Pre-defined campaigns will only run once through the list of courses. After the pre-defined courses have all been delivered, the campaign will stop.

When you set the last field of the scheduler, that is not the date of when the recurring campaign will deliver its next course. Instead, it is when the campaign will begin to look for the sending parameter set for the campaign. In the example above, the sending parameter is "once a month on the 1st Monday at 8 AM, starting on 10/31/2024." This means that starting on 10/31/2024, the scheduler will find the next date that equals the 1st Monday of the month, which is 11/4/2024.
Once you have your schedule set, the last thing to do is click Launch.
You will now see your new custom training campaign listed under Active Training Campaigns.

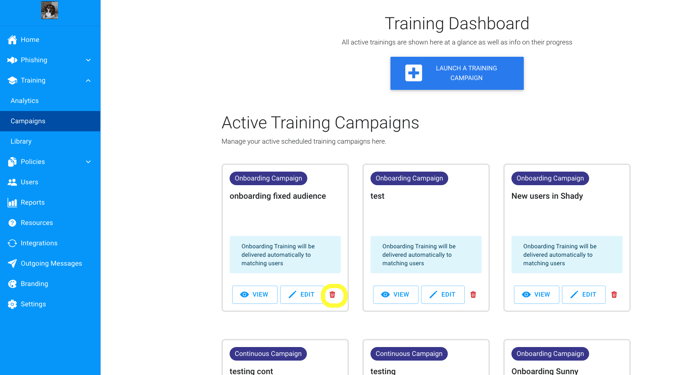
At any given time, you can cancel your campaign by clicking the red cancel button.