Getting set up with our Phin API is quick and easy. This guide makes that process simple.
Enable API Access
You can go to the integration page at the Partner level and enable it.
To get to the API integration follow these steps.
Step 1: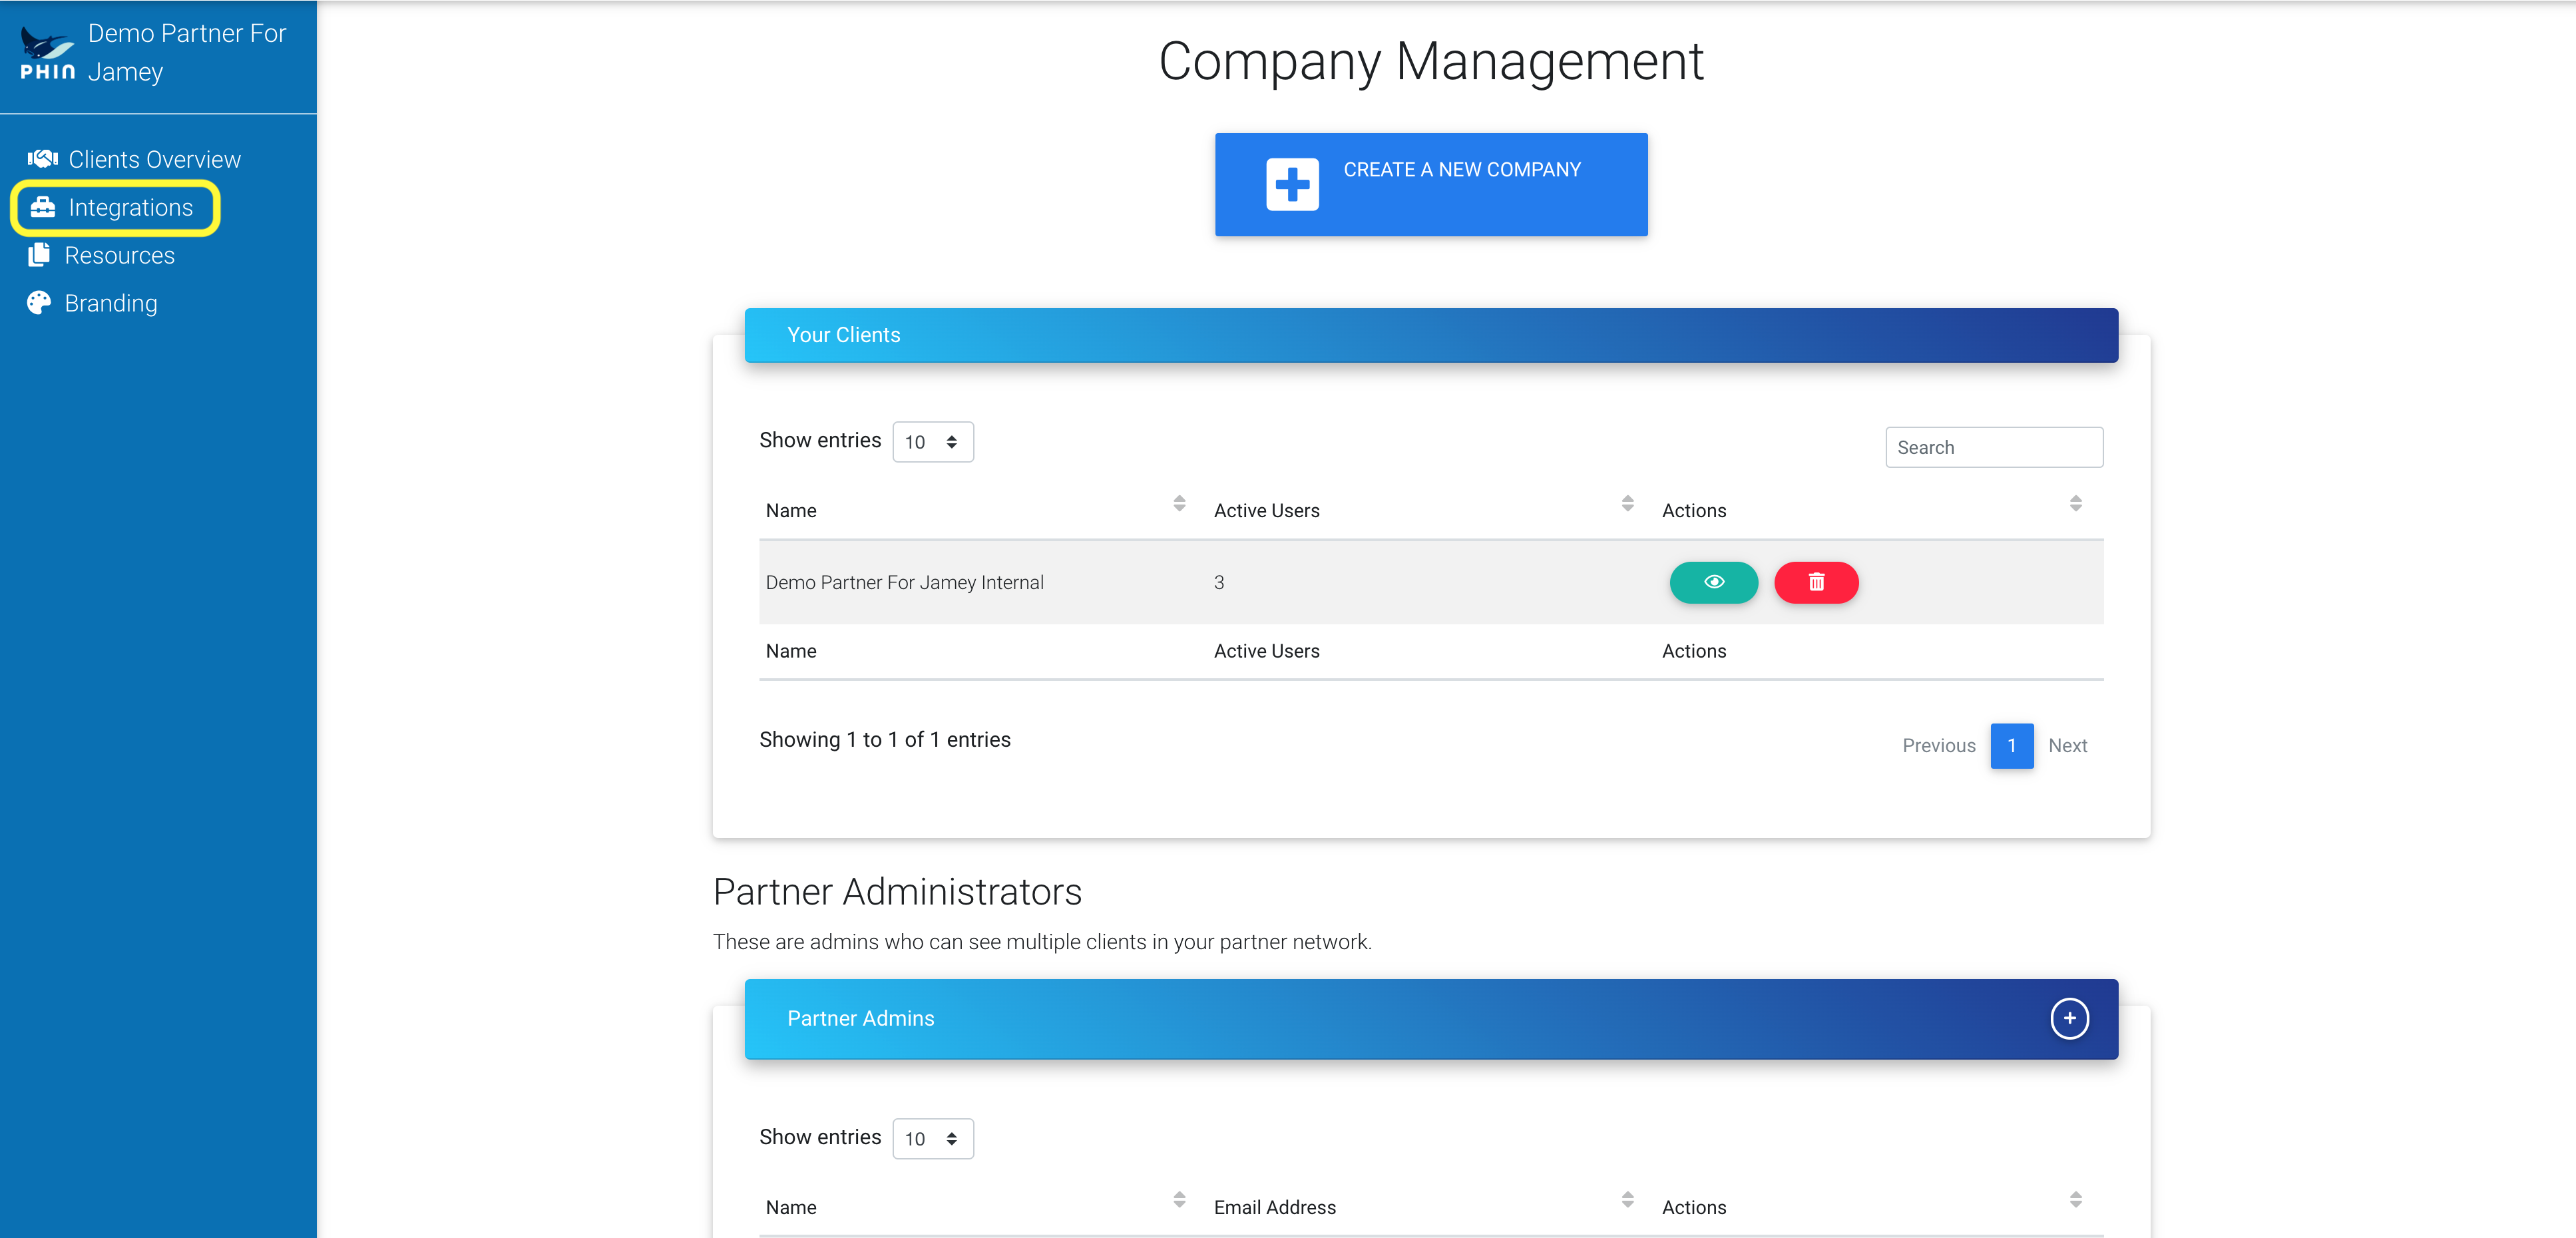
Step 2:
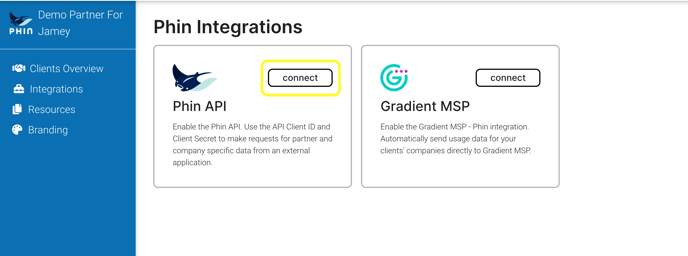
Step 3:

That’s it!
Take note of your client_secret. After you leave this page or refresh, you will no longer be able to see this secret, and you will need to rotate your secret to get a new one. See the “Handling Secrets (Security) section of the “Phin API Documentation” page for more.
Get an Access Token
Use the client_id and client_secret from the Phin API Integration page to get an access token.
The access token has a lifetime of 24 hours. After 24 hours (shown by the “expires_in” field of the response, measured in seconds) have elapsed, you will need to get a new access token.
Below is an example request and response:
request
curl --request POST \\
  --url <https://phin.us.auth0.com/oauth/token> \\
  --header 'content-type: application/json' \\
  --data '{"client_id":"YOUR_CLIENT_ID", "client_secret":"YOUR_CLIENT_SECRET", "audience":"<https://public.api.phinsec.io>","grant_type":"client_credentials"}'
response
{
  "access_token": "YOUR_ACCESS_TOKEN",
  "expires_in": 86400,
  "token_type": "Bearer"
}
Get Your Data
You can check that API access is enabled and working by attempting to access the “GET /test” route. You will need your PartnerId from the Phin Portal.
Below is an example request and response:
request
curl --request GET \\
  --url <https://api.phinsec.io/partners/YOUR_PARTNER_ID/test> \\
  --header 'Authorization: Bearer YOUR_ACCESS_TOKEN'
response
{
    "message": "Successfully Tested the Phin API"
}