Phin's Azure Sync makes management SAT easy! The sync automatically updates on a rotating cycle so you only ever have to do it once.
Phin's Azure Sync is excellent at reducing your time managing users for Security Awareness Training. Below we will dive into how to connect the Azure Sync to ensure you're set up for success on Phin's platform.
Navigating to the Azure Sync
If you aren't already at the home screen of the client portal, start by navigating to the home screen.

- Navigate via the Integrations page.
- Start by clicking on Integrations in the left side hand menu.

- Start by clicking on Integrations in the left side hand menu.
-
- Once on the Integrations page, you'll look for the User Sync option, then click Connect.


- After clicking this option you will be brought to the Azure Sync page and can continue on to the next step.
- Once on the Integrations page, you'll look for the User Sync option, then click Connect.
Connecting Phin's Azure Sync
To connect to Azure Sync, you will need Global Admin or Privileged Role Administrator access for the client you are connecting with.
Begin by clicking Continue to Microsoft on the Azure Sync page.

If your client requires Azure AD for US Government, please be sure to toggle the button to switch the sync over to Azure AD for US Gov. (Shown below)

After clicking, Continue to Microsoft, you will be brought to Microsoft's sign-in page. This is where you need to log in with the Global Admin account for your client.
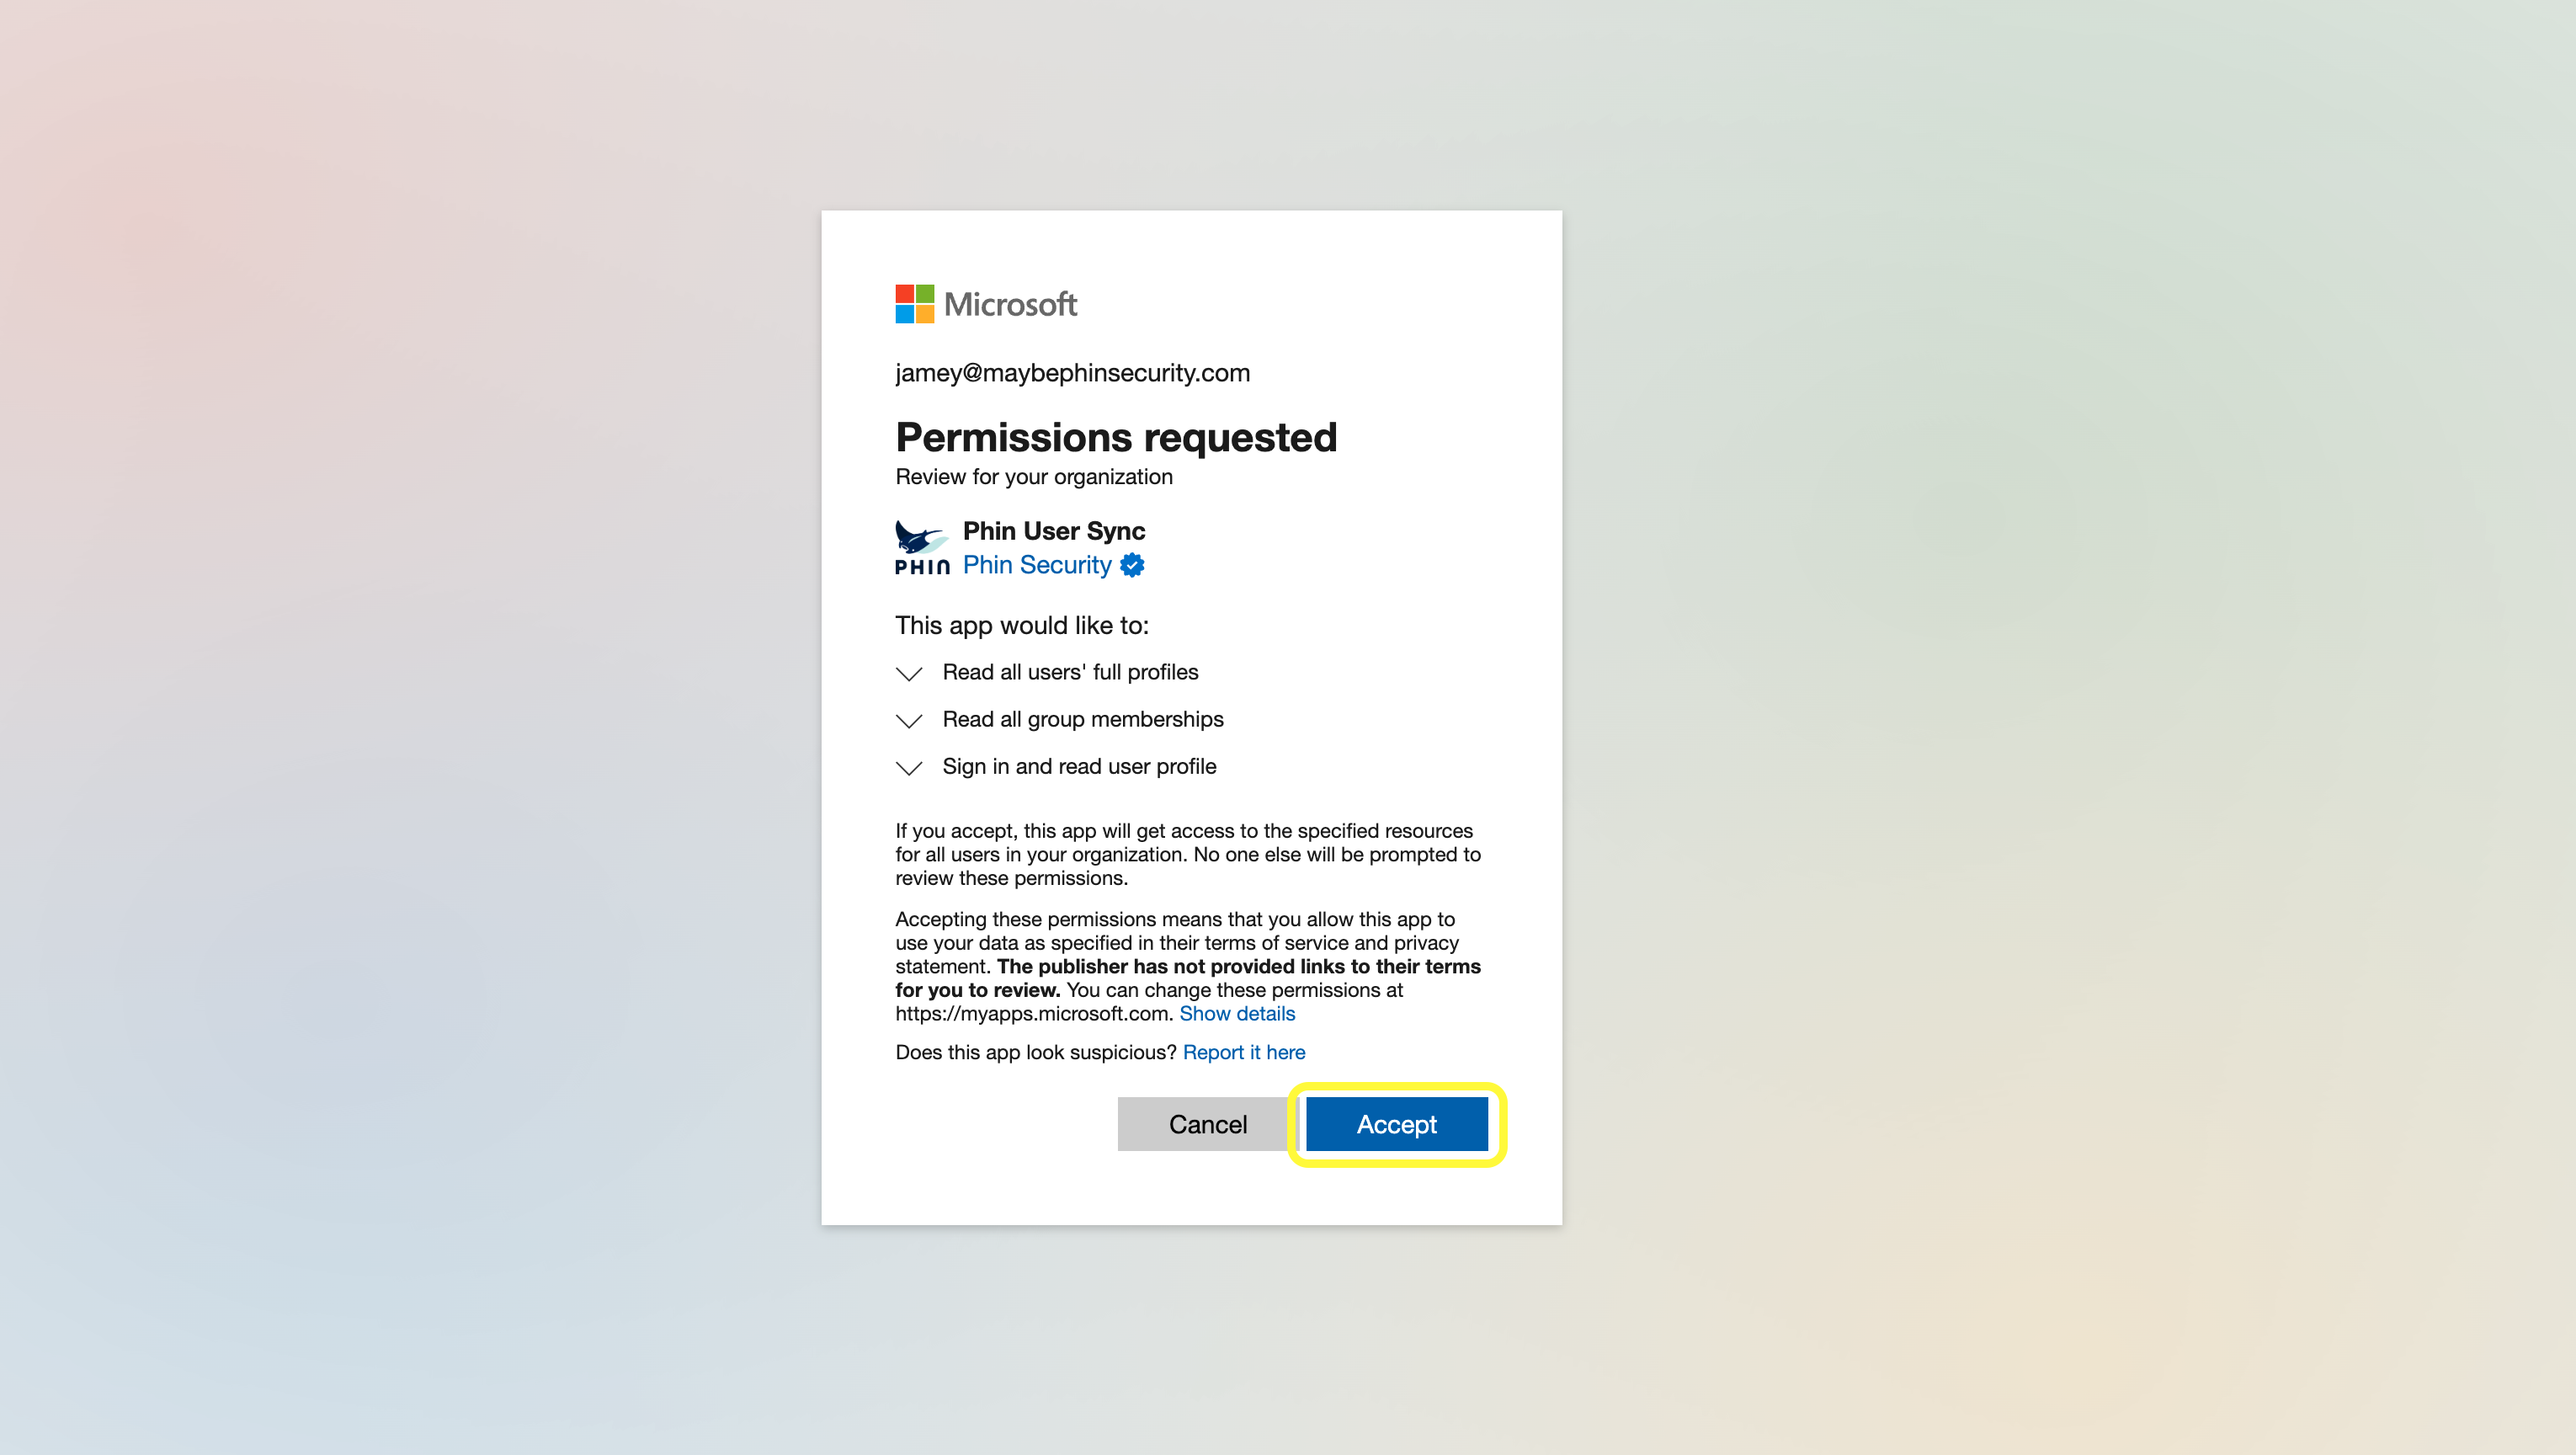
Once you log in you'll see a list of the permissions we're requesting. Once you've reviewed the permissions, click Accept.
Once you click Accept the sync process will begin. This may take a few minutes to complete.

Once the sync has finished verifying Microsoft's consent status you will be brought to the Staging phase (indicated at the top of your screen).

In the Staging step, you have the option to select certain groups to be included in the sync. If you would like to sync all groups, you can skip this step.

Once the sync has finished verifying Microsoft's consent status you will be brought to the Staged phase (indicated at the top of your screen).

All of your users and groups from your Azure tenant are now staged. These are the changes that we will make to your Phin account if you commit these changes. You will be able to manage these users after syncing has started.
- Users that do not have mailboxes will not be synced over.
- Users that do not have a valid user license will not be synced over.
- If a licensed user in Phin becomes unlicensed in Azure, that users will be removed from Phin.
- If you delete or disable a user in Azure, the integration must be connected for the Phin portal to notice the change and have it reflected in the portal.
Before we continue on with the sync process, we're going to take a brief moment to discuss how to sleep users & groups within the Azure Sync process.
If you'd like to skip past sleeping users, click here.
Sleeping Users and Groups during the sync process:
For the purpose of this article, we will only be discussing how to sleep users & groups during the sync process. If you'd like to learn more about sleeping users and groups, click here.
All slept users or groups will remove their ability to receive Phishing or Training emails on our platform. This also means these users will not be counted toward billing.
Sleeping Users
To get started, begin by looking at the list of users on the right-hand side. You will see on the right side of each user, under the Action column, an option to Sleep.

To sleep that user clicks the Sleep button. You will now see that the user has turned grey, indicating that they've slept.

To wake a user back up, simply click on the Include button.

You will now see that the user has been woken back up. They are now able to receive both Phishing and Training.

Sleeping Groups
To get started, begin by looking at the list of users on the right-hand side. At the top, you will see that Users are currently selected. We need to select Groups.

By selecting Groups, you will now see a list of your groups instead of users. To sleep a group, click on Sleep on the righthand side of the group you'd like to sleep.

Once you click Sleep, that entire group will be slept.

If you'd like to wake a group back up, click Include.

You will now see that that group is now awake and able to receive Phishing and Training.
Finishing the Azure Sync
Once you have slept all the users or groups you'd like, click Commit to finish the sync process.

You have now initiated the first sync.

Once the first sync is finished you will be brought to the Connected page.

You have officially finished your Azure Sync! You can check the Sync Status and if there were any errors on this page.
Our Azure Sync automatically re-syncs every 6 hours, which you can see under the Sync Status section and Sync Times.


You can always manually resync by clicking Sync Now.
Warning! Manually syncing too close to a previous sync could cause the system to bring in duplicate users. Always be aware of this if you're going to do a manual sync.

The sync process is complete! Since it automatically resyncs every 6 hours, you never need to come back to this page to manage the process.
Azure Dynamic Groups are not fully supported as of this time.
The following fields are synced when utilizing the Azure sync tool.
- First Name
- Last Name
- Supervisor
- Department
- Phone number
If someone is added as an admin to Phin, connects this integration and then is removed from Phin, the integration will continue to work as long as the admin has the "Global Administrator" role.